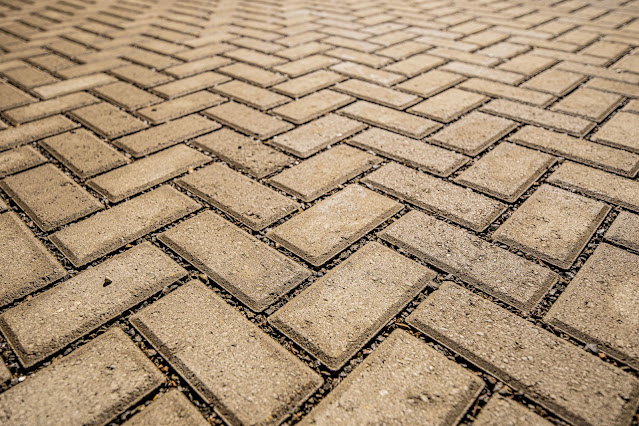
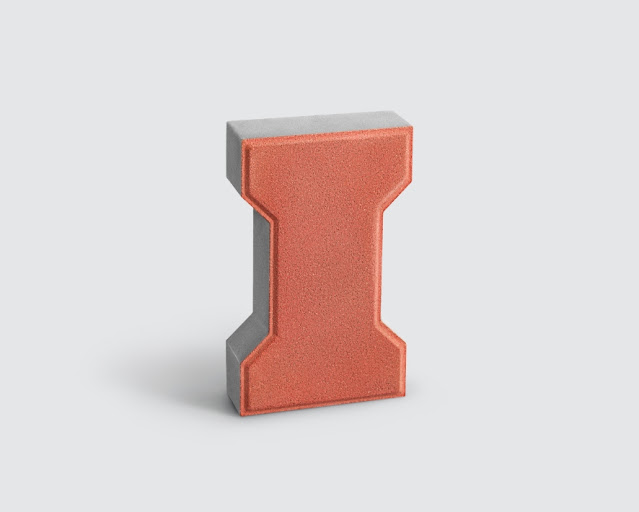
It seems like you're asking about the best way to install I-section pavers. I'll provide you with a general guide to help you with the installation process. Keep in mind that specific instructions may vary based on the type of pavers you're using and the conditions of your project site. If you're not experienced with paver installation, it's a good idea to consult a professional or follow manufacturer guidelines.
Here's a step-by-step guide for installing I-section pavers:
1. Preparation:
Measure and mark the area where you want to install the pavers. Clear the area of any existing vegetation, debris, or old paving materials.
Excavate the area to a suitable depth, usually around 6 to 8 inches, depending on the type of pavers and the intended use. This depth should include the thickness of the base material and the pavers.
2. Base Preparation:
Level and compact the excavated area using a plate compactor to create a stable and even base.
Lay a geotextile fabric over the compacted soil to prevent weed growth and improve drainage.
3. Base Material:
Add a layer of crushed stone or gravel as the base material. This layer should be about 4 to 6 inches thick. Compact this layer using a plate compactor to ensure stability.
4. Sand Bed:
Spread a layer of bedding sand, usually about 1 inch thick, over the compacted base material. Screed the sand to achieve a uniform thickness.
5. Setting Pavers:
Start laying the I-section pavers at a straight edge or a reference line. Place the pavers side by side, following the pattern or design you desire. Use a rubber mallet to gently tap them into place, ensuring they are level and evenly spaced.
6. Cutting Pavers:
Use a wet saw or a paver splitter to cut pavers as needed to fit along the edges or around obstacles.
7. Edging Restraints:
Install edge restraints along the perimeter of the paver area to hold the pavers in place. These can be plastic or metal, and they help prevent shifting over time.
8. Joint Sand:
Once all the pavers are in place, spread fine sand over the surface. Use a broom to sweep the sand into the joints between the pavers, filling the gaps.
9. Compaction and Final Sanding:
Compact the pavers again using a plate compactor, making sure the pavers are set firmly in the sand.
10. Finishing:
Sweep off any excess sand from the surface of the pavers. You may need to add more sand to the joints after initial compaction.
11. Sealing:
Depending on the type of pavers and your preference, you can consider applying a sealer to enhance their appearance and protect them from stains.
Remember, this is a general overview of the installation process. It's crucial to refer to the manufacturer's guidelines for specific instructions related to the pavers you're using. Additionally, local climate and soil conditions can impact the installation process, so adapt the steps accordingly. If you're not comfortable with any part of the process, consider hiring a professional paver installer to ensure the job is done correctly.


0 Comments